Executing Your First Groove Flow
Executing the Actions from your Flow.
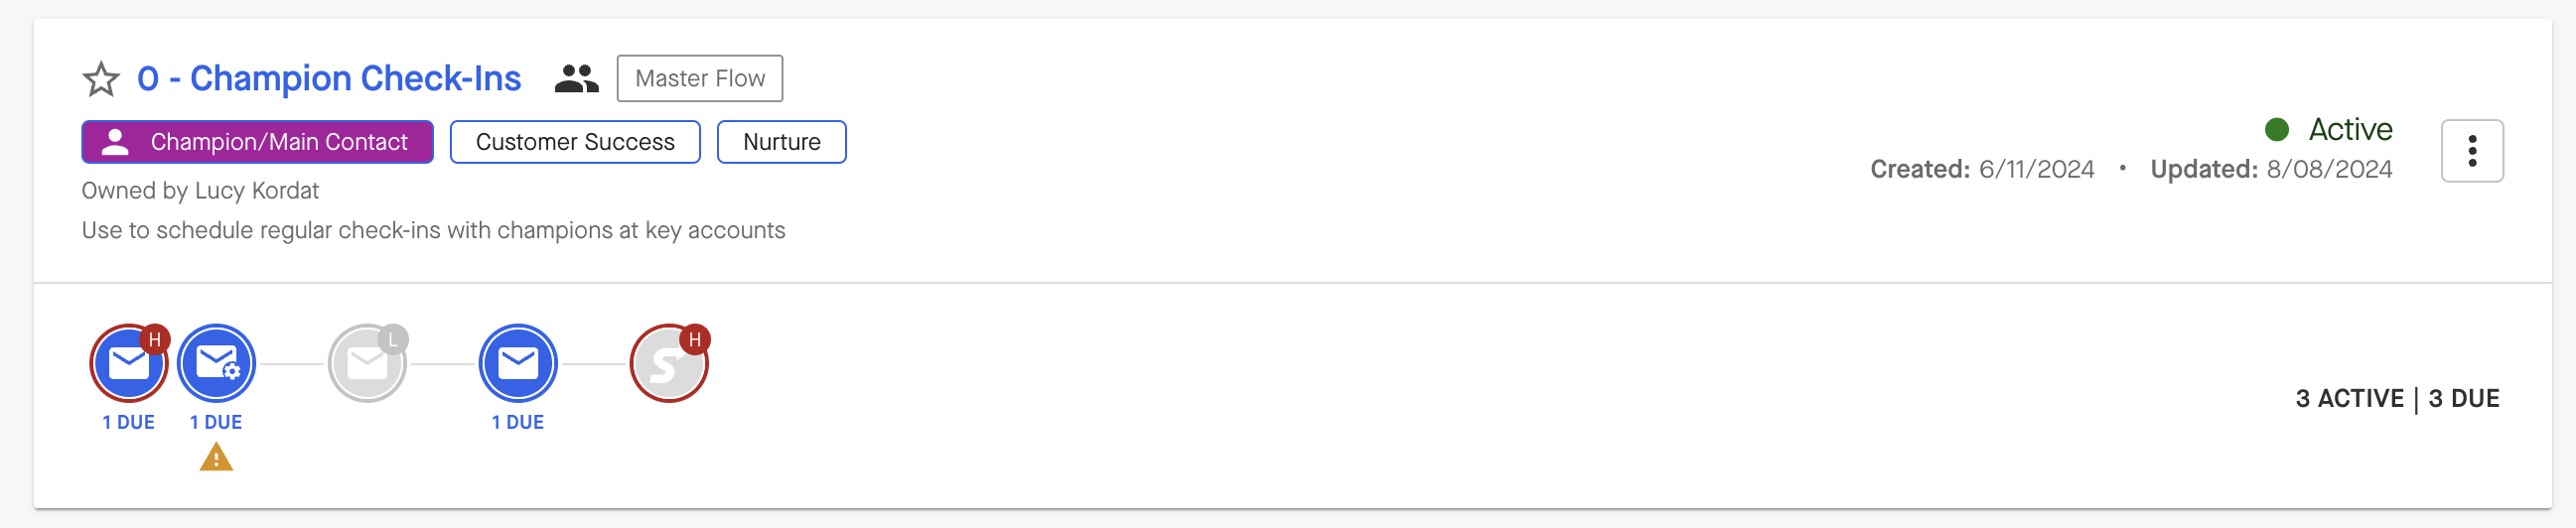
You will be sending emails, logging calls, and completing tasks in what we call work steps in Flow. You'll know a step is due for action when the step's icon turns blue. Click on the blue icon to start emailing or calling your clients!
For "Send an Email" Steps
On our email workstep page is where you can customize and personalize each of the emails before sending them:
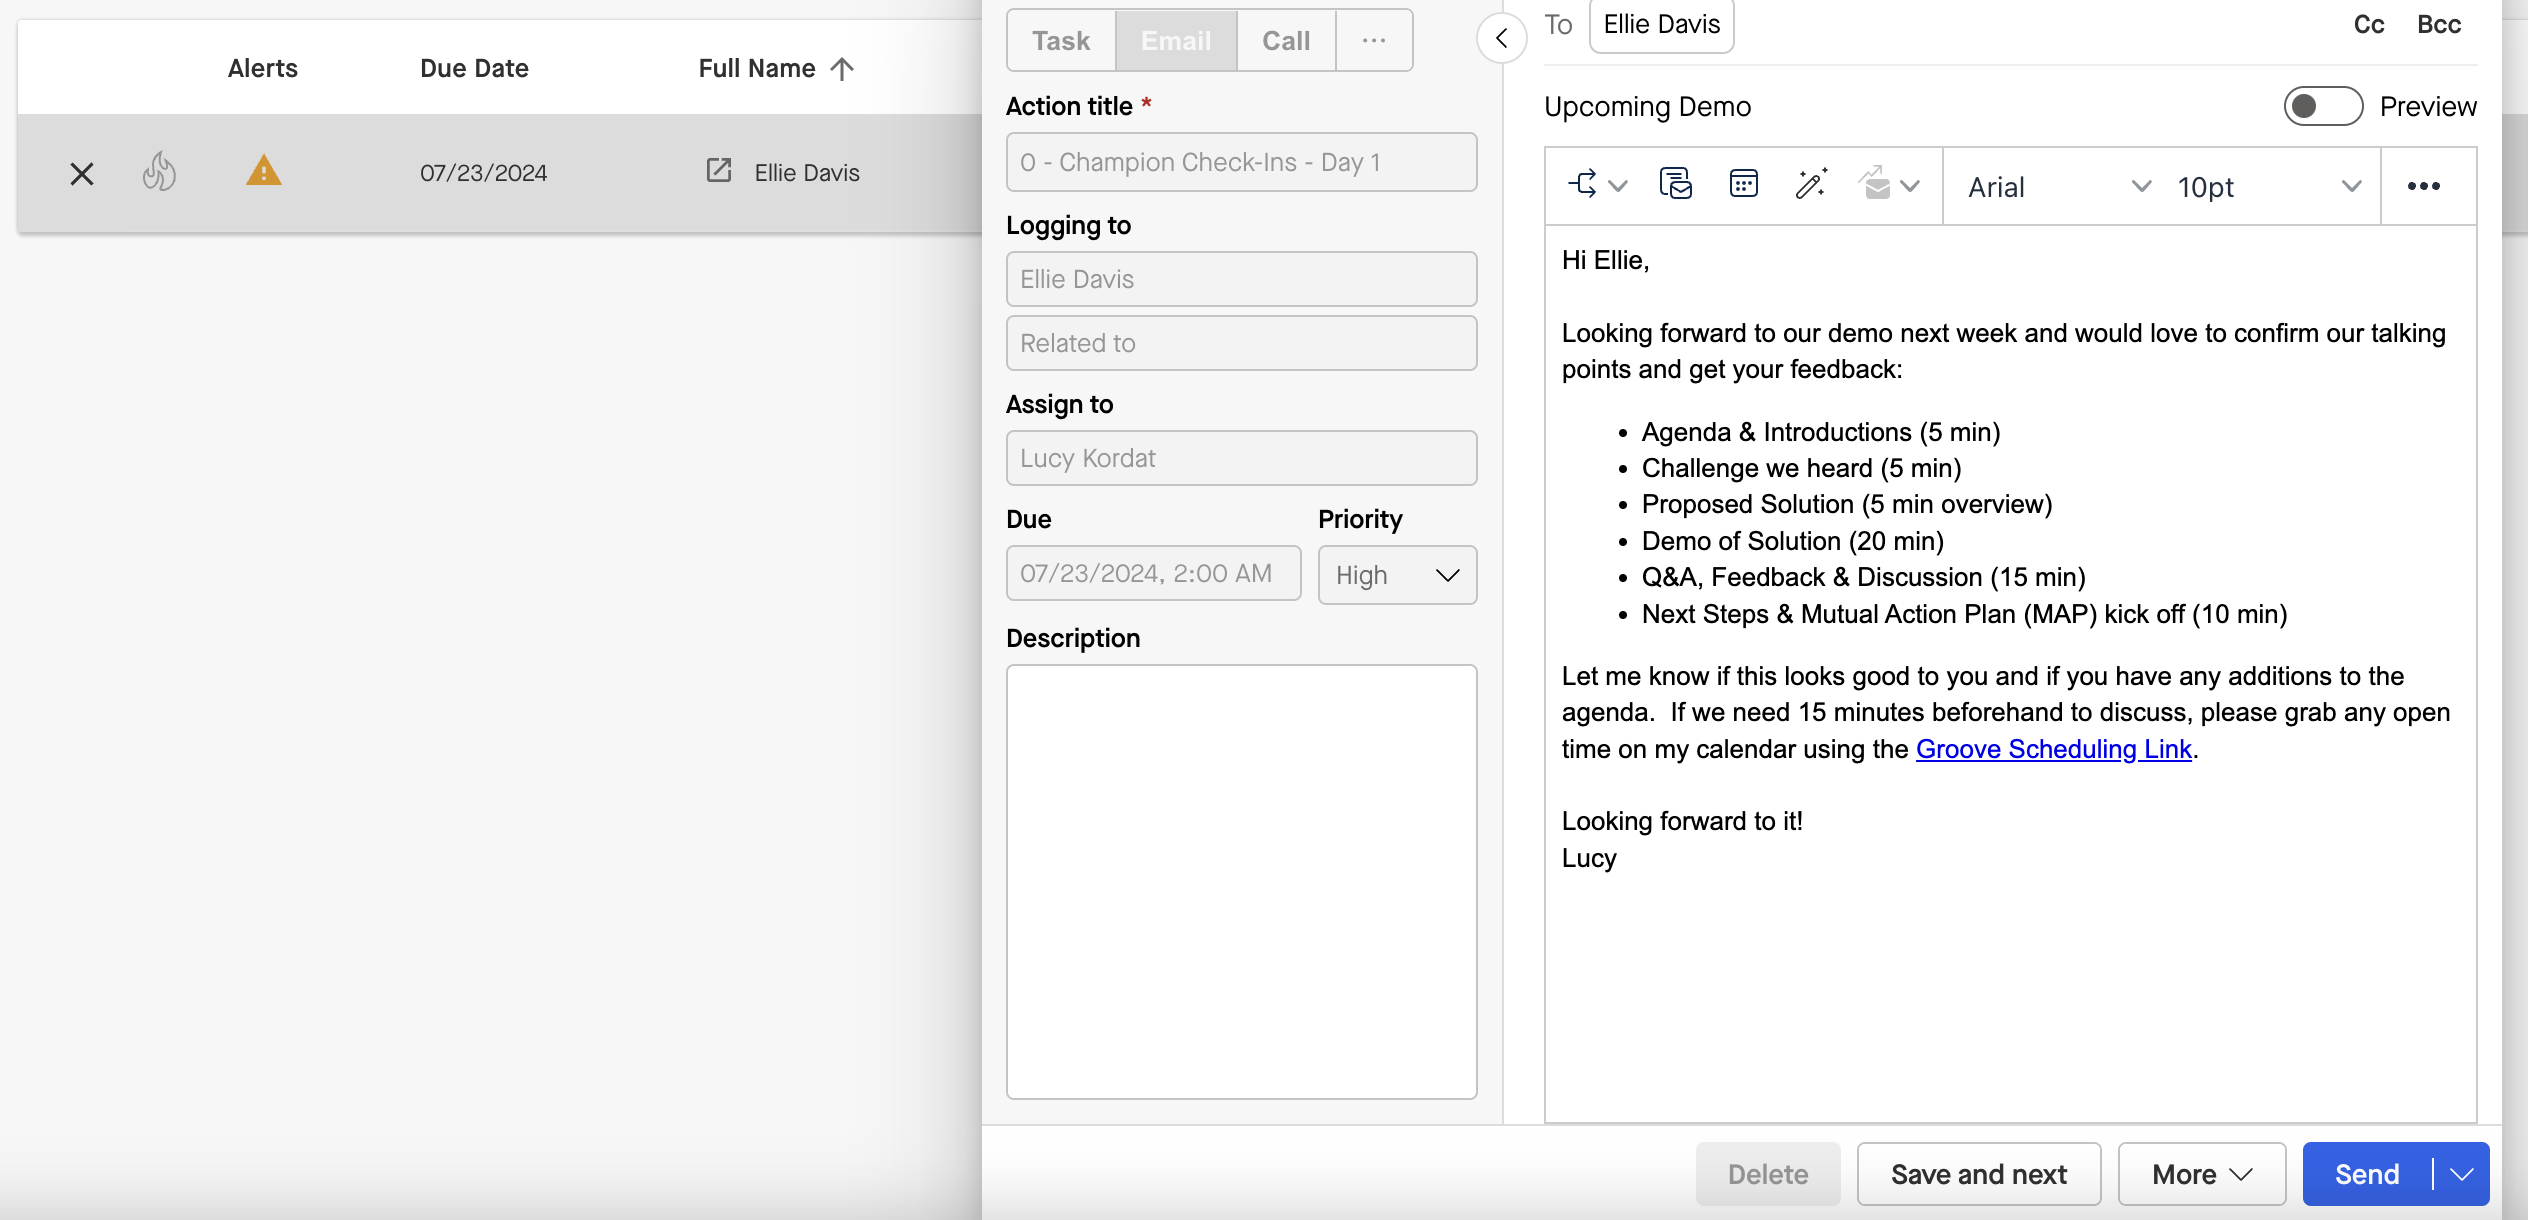
When you're ready to send, you can:
-
Send each email individually or you can send in bulk by clicking 'Send' in the upper right-hand corner. This button will reflect the number of emails to be sent, so below it says "Send 1."
-
Schedule individual or all emails by checking the 🕛 (clock) icon next to the 'Send' and 'Send all' button
-
Send only the first "x" amount of items in the list by typing in the number of emails you want to send from the list in batches. You can sort the columns by clicking on the header. This will determine the order by which the "first" records are found. Ex. Sorting by "name" will send the first 10 records in alphabetical order.

For "Auto-Send an Email" Steps
Automated email steps will automatically send your emails when your clients have reached that day in your step, and at the time that you've specified.
However, you do have the option of sending out these emails early if you'd like to do so before they reach that day and time. If you click on the 3-dot menu on a step, you can execute those actions early.
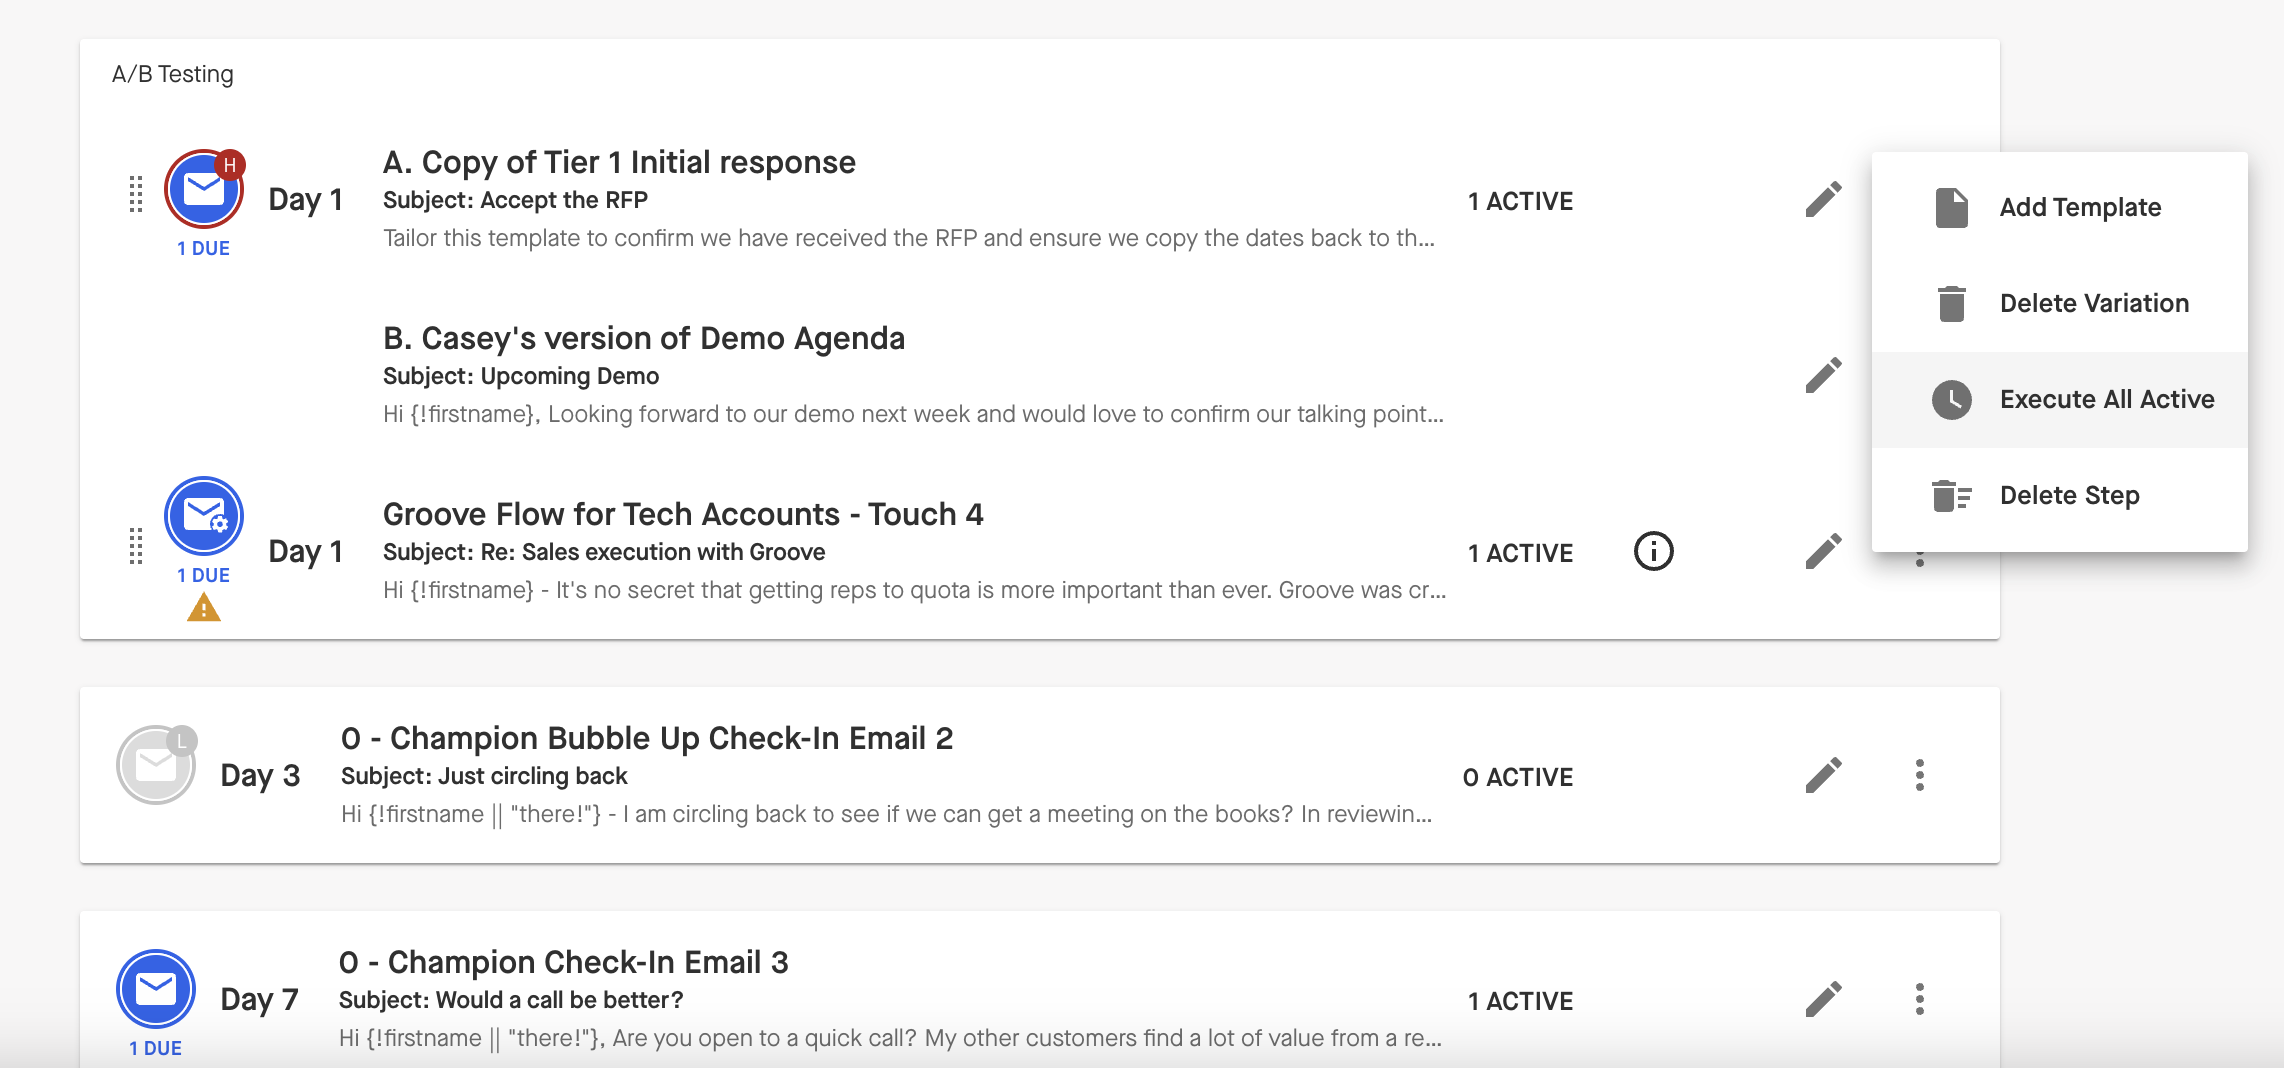
Note: If you choose to send an email early, you'll go to the email workstep page, where you can send out the emails before they would have gone out automatically.
For 'Make a Call' Steps
Click into your Due actions to begin calling the people in this step.
If you're not using Groove Dialer, you can make your call from your phone system, then fill out the Call Result and finally Log the call to move on to the next person on the list.
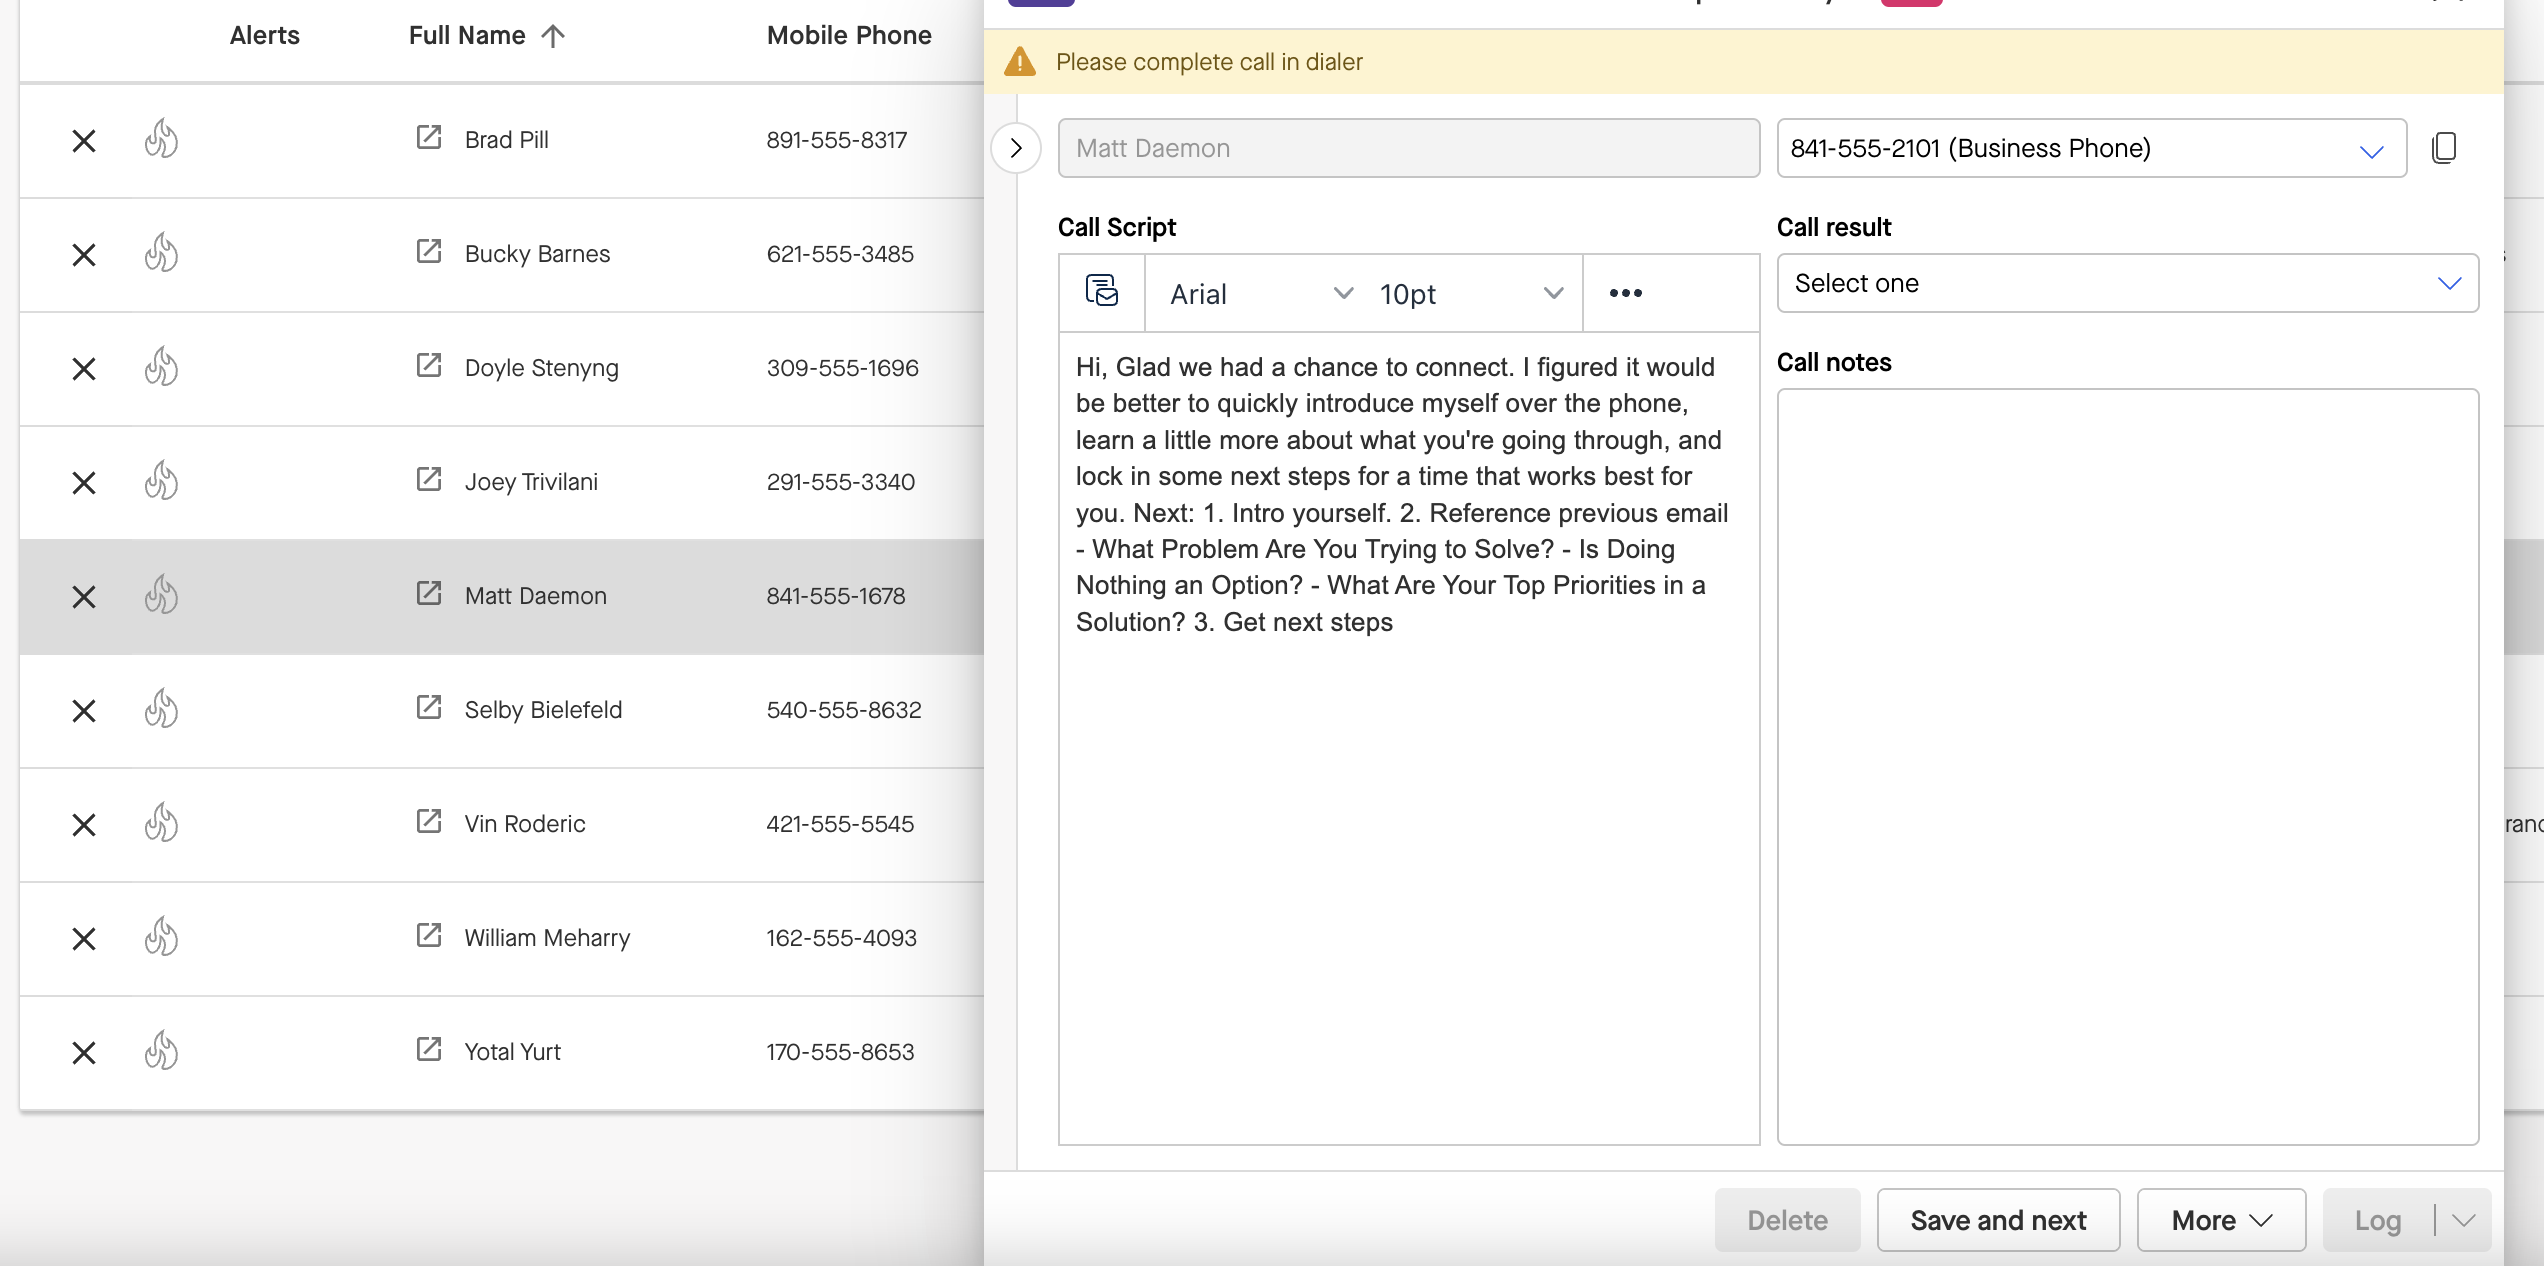
If you are using Groove Dialer, you can call your clients directly from this screen, and also log those calls back to Salesforce.
By clicking 'More' on the call log screen you'll see a few different options for how you want to proceed with your prospects in this step:
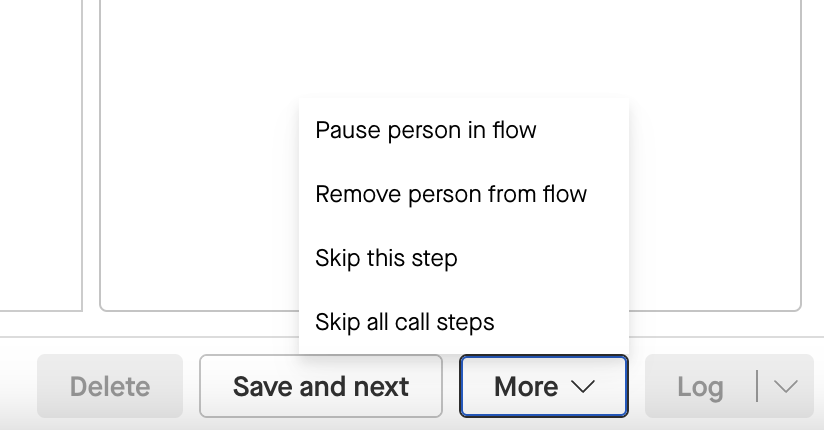
Pause person on this step until: this option allows you to specify a day until when you'd like to keep this person in that step. This is useful for when you tried calling a prospect, but didn't get ahold of them, so you'd like to keep them in the step and try calling again.
Remove from Flow: this option is useful for when you did connect with your prospect and can continue the conversation with them outside of the flow (similar to automatically removing people who replied to your email steps).
Skip this step: this option will move this person to the next step, if you would not like to call them.
Skip all call steps: this option will have the person skip this step and all future call steps in the flow, so that they move through the Flow only on email, auto email, and other action steps. This is useful when you don't have a phone number for a prospect, but you'd still like to send them the emails in this Flow.
Create a Salesforce Campaign with Your Flow
For each flow you can create a campaign in Salesforce which will mirror the flow and all the people you add as campaign members or link to an existing Flow. That way you can take advantage of all the ROI features of Salesforce campaigns.
For instance, if you add a leads to an outreach Flow and some leads converts to an opportunity and some opportunities close, you can later report on the effectiveness of the Flow by looking at the ROI stats in the Salesforce campaign, such as:
-
Converted leads in Campaign
-
Opportunities in Campaign
-
Value Opportunities in Campaign
-
Won Opportunities in Campaign
-
Value Won Opportunities in Campaign
Creating a Salesforce campaign requires extra permission in Salesforce. In order to grant a Salesforce user these permission, follow these steps:
-
-
Find the user in the list and click Edit
-
On the user details page, enable the option "Marketing User"
-
Notice that you might have exceeded the number of Marketing User feature licenses in your org, so the checkbox might be grayed out.