Share Grove Flows With Teammates
To share a regular Flow:
- Go to Flows and select the Flow you want to share.
- Click "Share" button in the top right corner.
From this menu, you can choose teammates, Groove teams, or your entire organization and add them to the list of people with access to this Flow. Also, you can decide who has to add/edit access to this Flow.
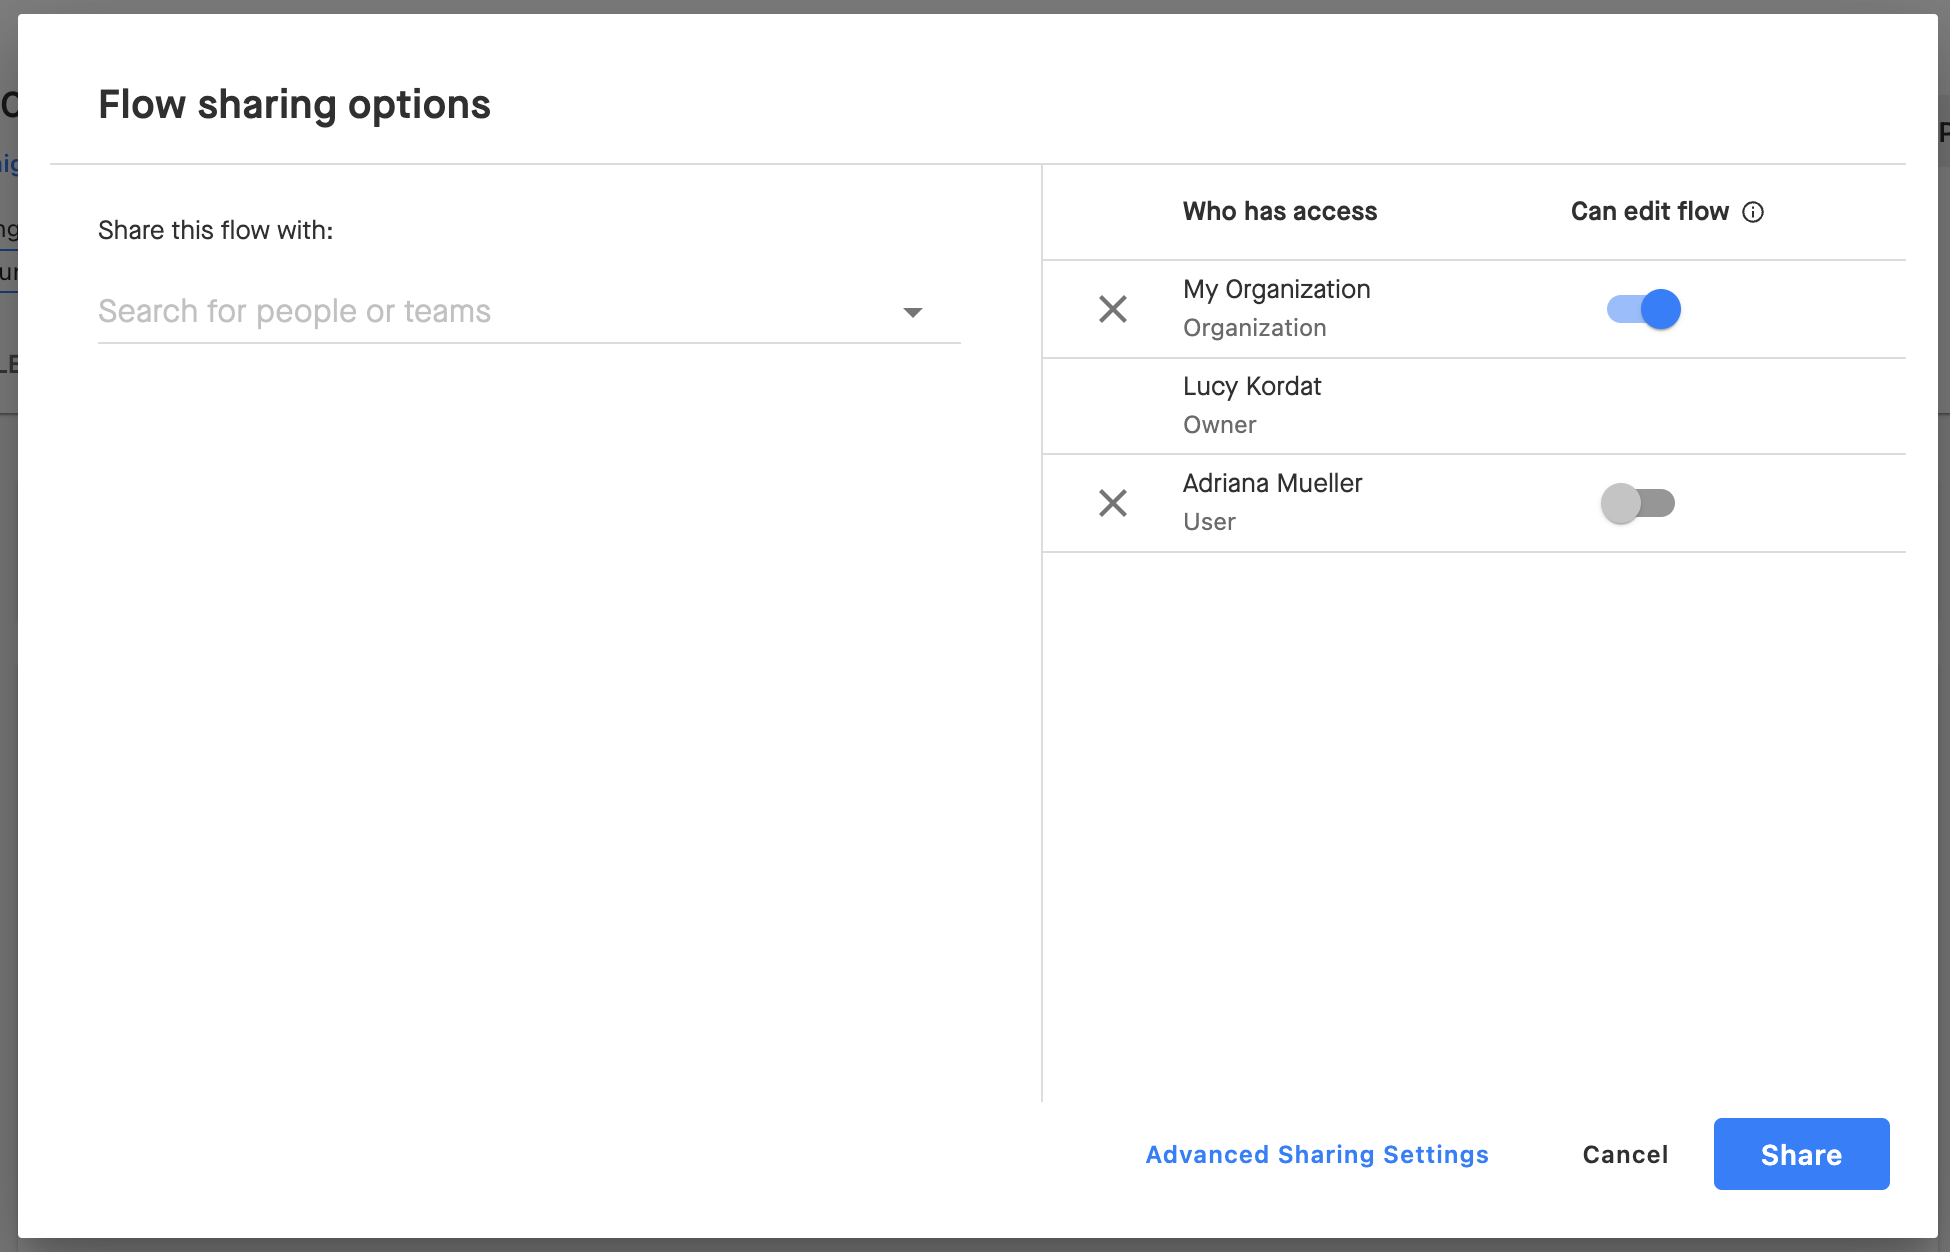
Note: Any edits to a shared flow will be visible to everyone who can access this Flow. If you'd like your teammates to be able to use the info in your Flow but not edit the original, do not give them add/edit access, create a Master Flow instead.
Or, your team can make a copy of the Flow to customize it as they'd like:
Accessing Shared Flows
Flows that someone shares with you will show up on your Flows Page.
After you've shared a Flow with someone, you can also copy the URL of that Flow and share it with them. Just open the Flow you shared, and copy the URL:
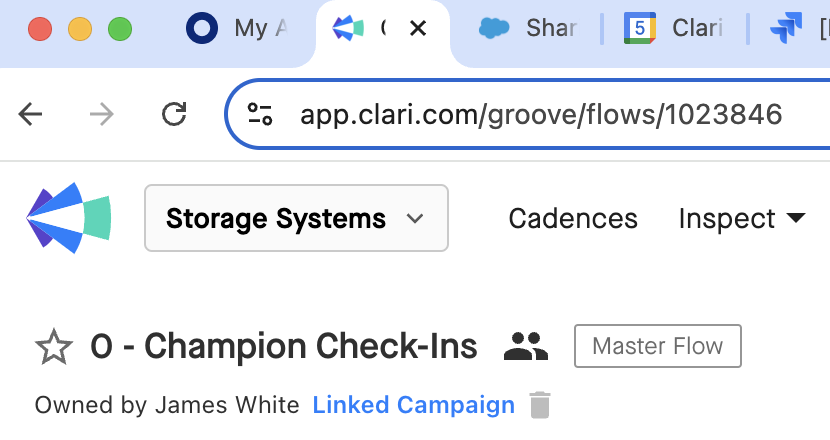
Master Flows
You can also create and share Master Flows. These Flows allow your teammates to customize parts of a Flow you create without changing your original Flow. You can also track performance for the Master Flow.