In this article you will learn how to install the OmniDialer. (Note: A Dialer license is prerequisite. Please contact your administrator to obtain a license if needed.)
Step 3: Click “Download for Mac” which prompts the download at the top of your browser. When it's done, click the download error shown here:

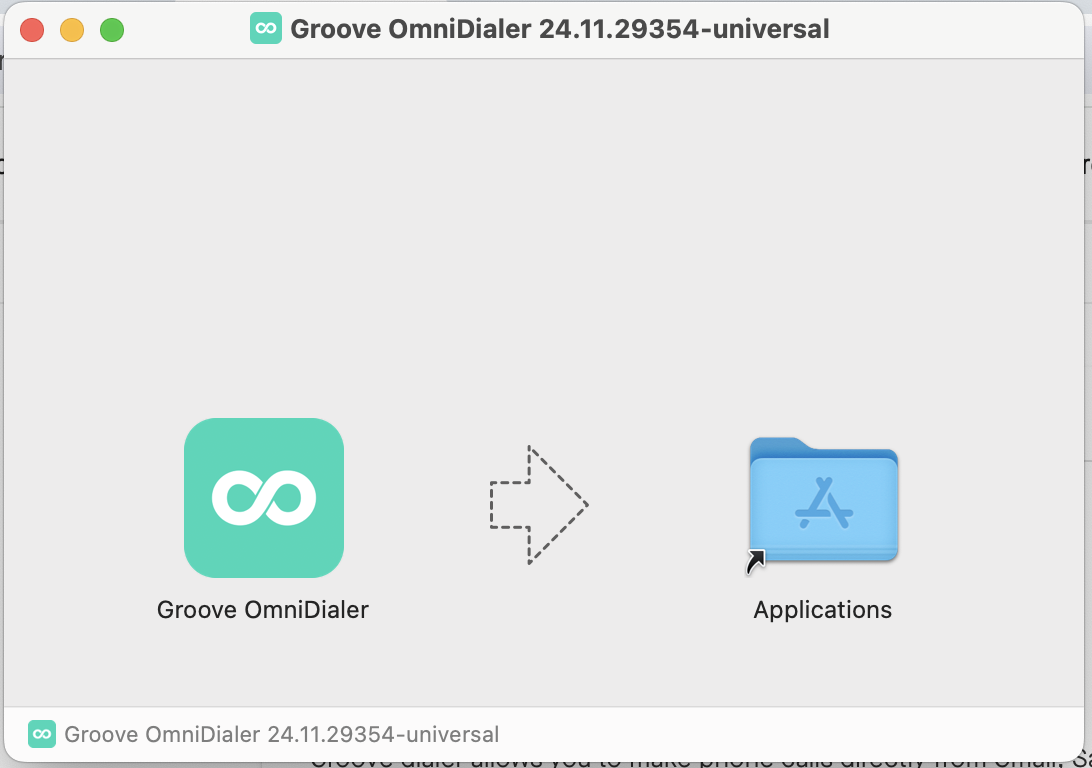
Step 4: Move OmniDialer App to Applications Folder → Open the App from the Applications Folder → Click Sign In > Click Open Dialer in your Browser
Step 5: Make sure to "Allow Microphone Access"
Install OmniDialer for Windows
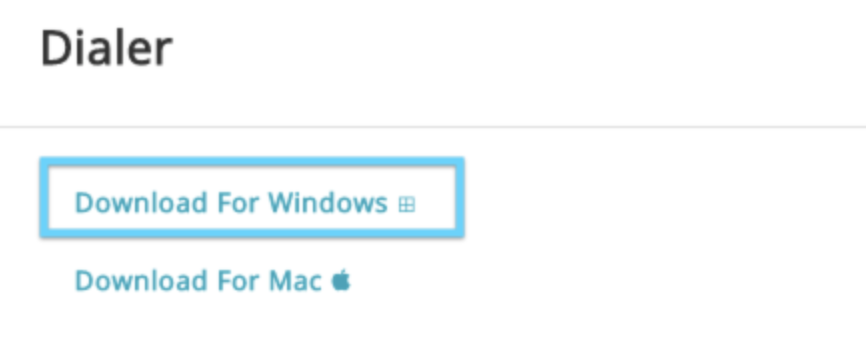
Step 2: Go to settings and scroll down to the Dialer section
Step 3: Click “Download for Windows”
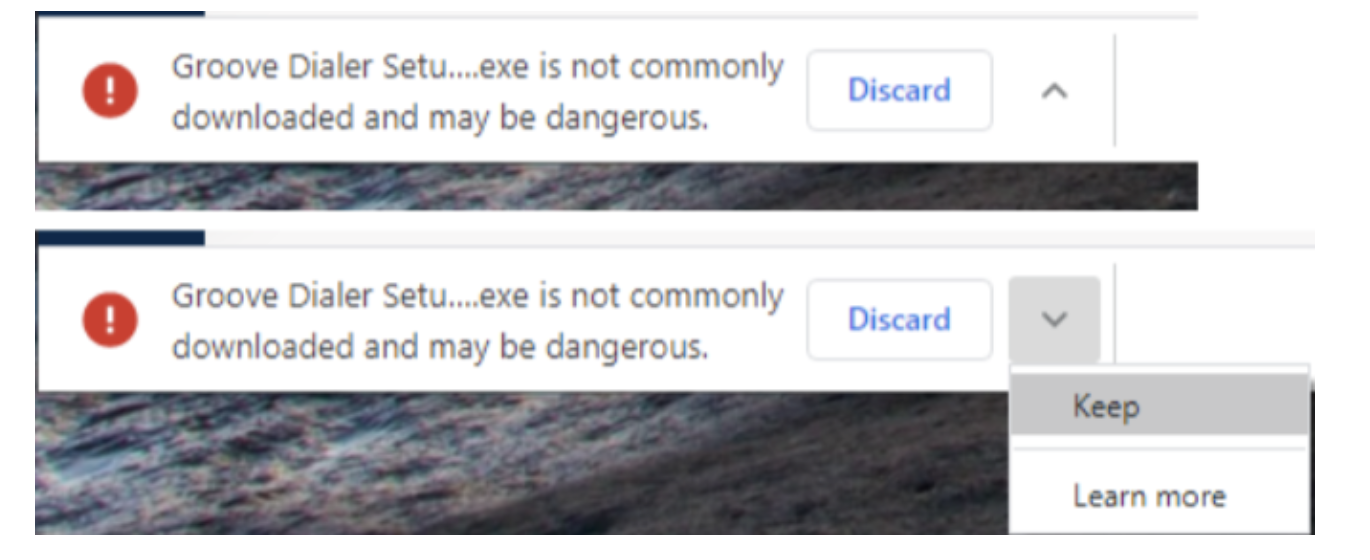
Step 4: Resolve the following by clicking “^”up arrow and select “Keep”
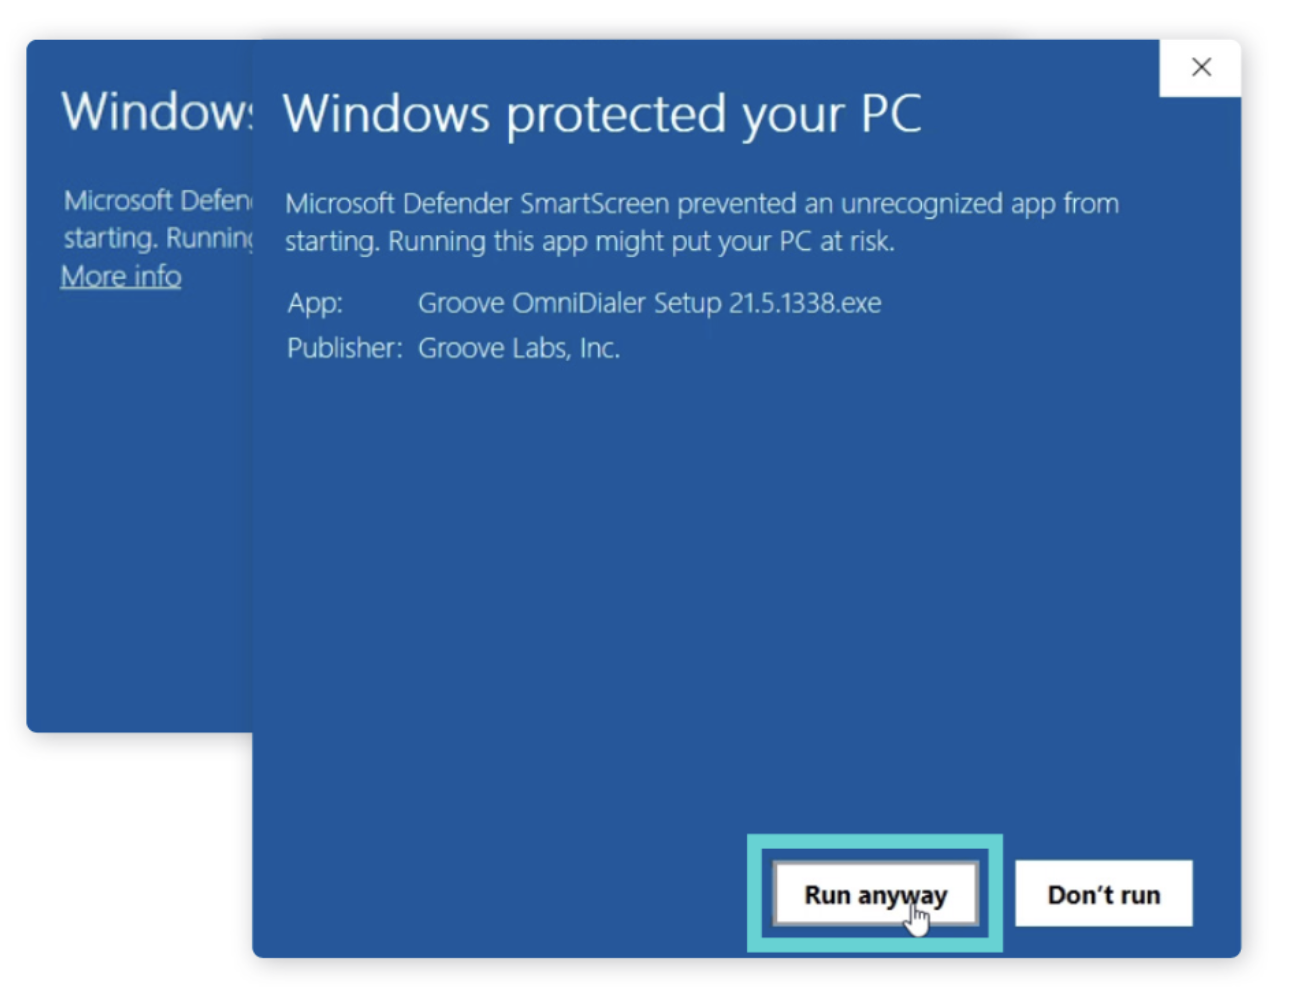
Step 5: Click “More Info” and then click “Run Anyway”
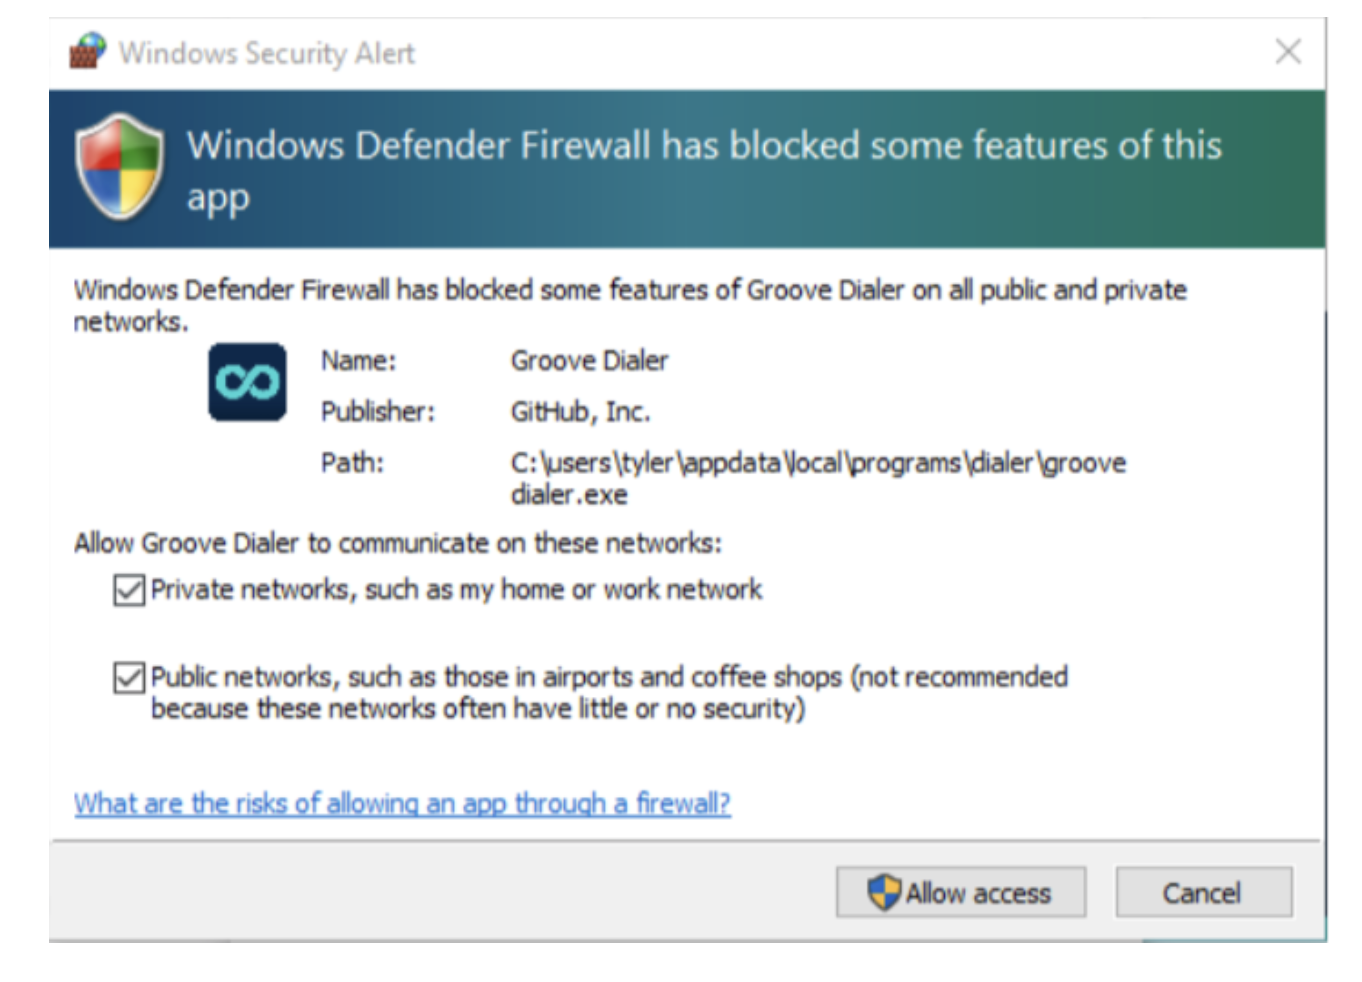
Step 6: Resolve the following by clicking the checkbox for “Private networks”, then “Allow access”
Step 7: Success! Sign in and Start dialing.
Setting Up the Groove OmniDialer
Once you’ve installed the Groove OmniDialer for the first time, you can begin signing into the OmniDialer so that you can complete the initial setup.
Step 1: Open the OmniDialer and click the “Sign In” button

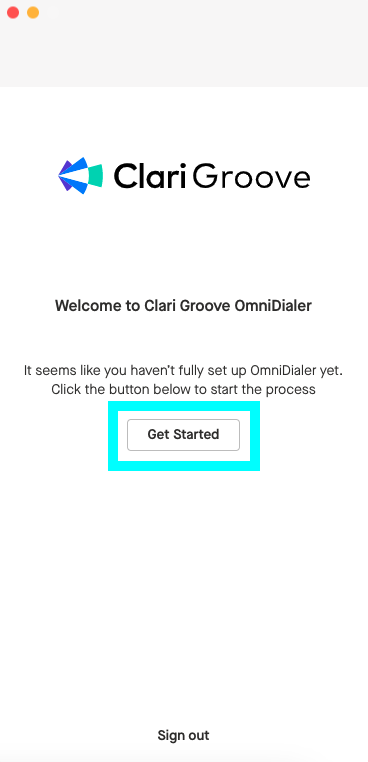
Step 2: Click the “Get Started” button
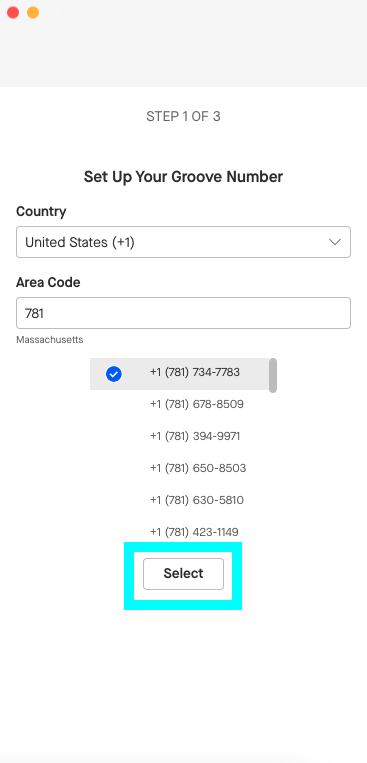
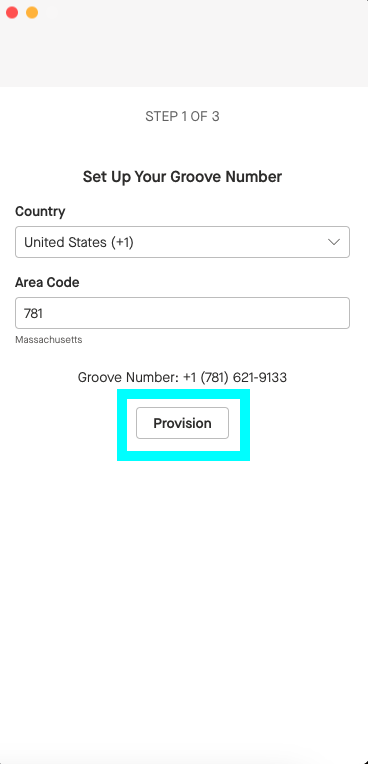
Step 3: Choose your Groove Phone Number by entering the area code from which you would like a number, then selecting a number from that area code. Once you choose a number, press the “Select” button.
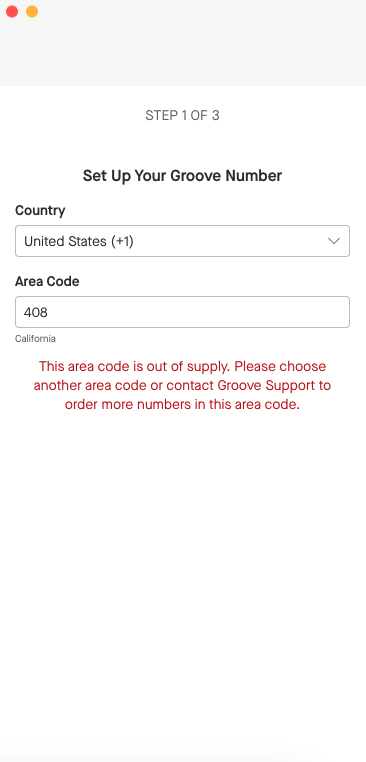
In some cases, you may see the following error message, which indicates that Groove’s VoIP provider is currently out of supply for phone numbers in your desired area code. This error tends to appear for area codes that cover densely-populated localities where phone numbers are in high demand, such as New York City, Houston, Miami, and so on.
This area code is out of supply. Please choose another area code or contact Groove Support to order more numbers in this area code.
In this case, please try entering a different area code and selecting a Groove Phone Number from that area code instead.
Step 4: If you’re happy with your phone number selection, press the “Provision” button to fully provision that Groove Phone Number for your OmniDialer.
Step 5: Select which number you want to use as your Caller ID. This is the phone number that will show up on your callee’s phones when you call them through the OmniDialer.
- Groove Phone Number: If you select your Groove Phone Number as your Caller ID, your call recipients will see your Groove Phone Number as the Caller ID when they receive a call from you. Anytime they call you back, you will receive the call in your Groove OmniDialer.
- Verified Number: If you select “Verified Number” as your Caller ID, your call recipients will see your Verified Number as the Caller ID when they receive a call from you. This could be your cell or business phone number. Anytime they call you back, you will receive the call on whatever phone your Verified Number is connected to. The Groove OmniDialer will not ring.

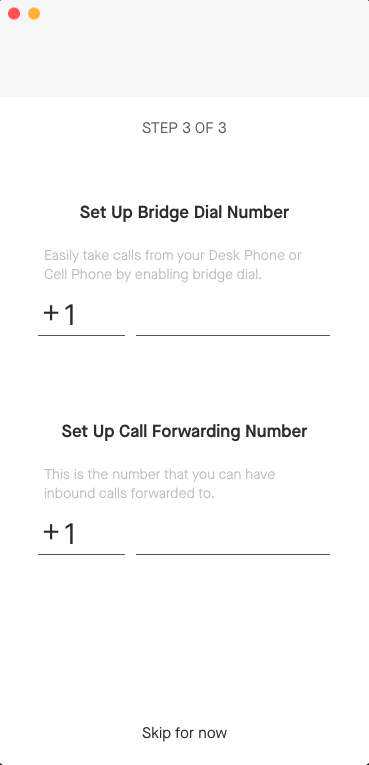
Step 6 (Optional): Choose whether you would like to set up Bridge Dial and Call Forwarding. You do not need to have a Verified Number to use either of these settings.
- Set Up Bridge Dial Number: Enter the phone number you would like to use for Bridge Dial. If you enable Bridge Dial, any outbound calls you place through the OmniDialer will first call your Bridge Dial number. Once you answer the call from the OmniDialer on your Bridge Dial number, you will the call will then connect from your Bridge Dial number to your call recipient. This setting is useful if you have a stronger cellular connection than internet connection, or want to be mobile while talking on the phone.
- Set Up Call Forwarding Number: Enter the phone number you want to use for Call Forwarding. If you enable Call Forwarding, any inbound calls you receive to your Groove Phone Number will ring on both the OmniDialer and your Call Forwarding number. You can answer the call from either phone and proceed with the conversation from there. This setting is useful if you want to ensure that you don’t miss any callbacks when you’re away from your computer.
- Skip for Now: If you don’t want to use either of these features for the time being, you can click the “Skip For Now” button to bypass this setup step.
Step 7: Press the “Complete” button.
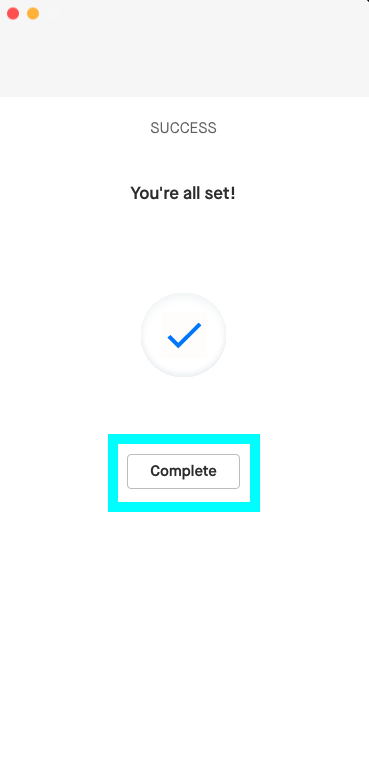
Congrats! You’re done setting up the OmniDialer and can begin calling. If you’d like to change any of your OmniDialer settings at a later time, you can always do that through these steps.
Learn More about Omnidialer
Here are a few helpful articles to get you up to speed on Omnidialer:
- Omnidialer Best Practices: Covers tips, what to do if you have network issues, and the recommended tech setup.
- Constant Bridge Dial: With Constant Bridge Dial, the dialer only calls your Bridge Dial phone once, when you first start the session. Subsequent calls stay connected to the dialer.
- Logging Calls with Omnidialer: Learn how to log calls to contacts, leads, accounts and opportunities.
- Voicemail Drop: Learn how to leave unique, pre-recorded voicemails.